
Inspired by Pinterest, I got a little bit crafty for Mother’s Day this year. I gave both my mom and mother-in-law homemade gifts that I’d love to share with whoever cares. I’ll share my MIL’s gift in this post, then my mom’s in another post. I knew my MIL was redecorating and was trying to think of something along that line. While in the shower one day (where I get all of my inspiration), I had a sudden flash of an idea to make coasters with pictures from our awesome family vacation to Walt Disney World last year. I immediately did a brief Pinterest search to see how I could make this happen. Several results came up, so I actually took a little bit from each website I found and made them “my own” way. I was really, really pleased with the results.
You’ll Need:
- 4×4 white tiles. I got mine from Lowes for 16 cents.
- 4×4 pictures
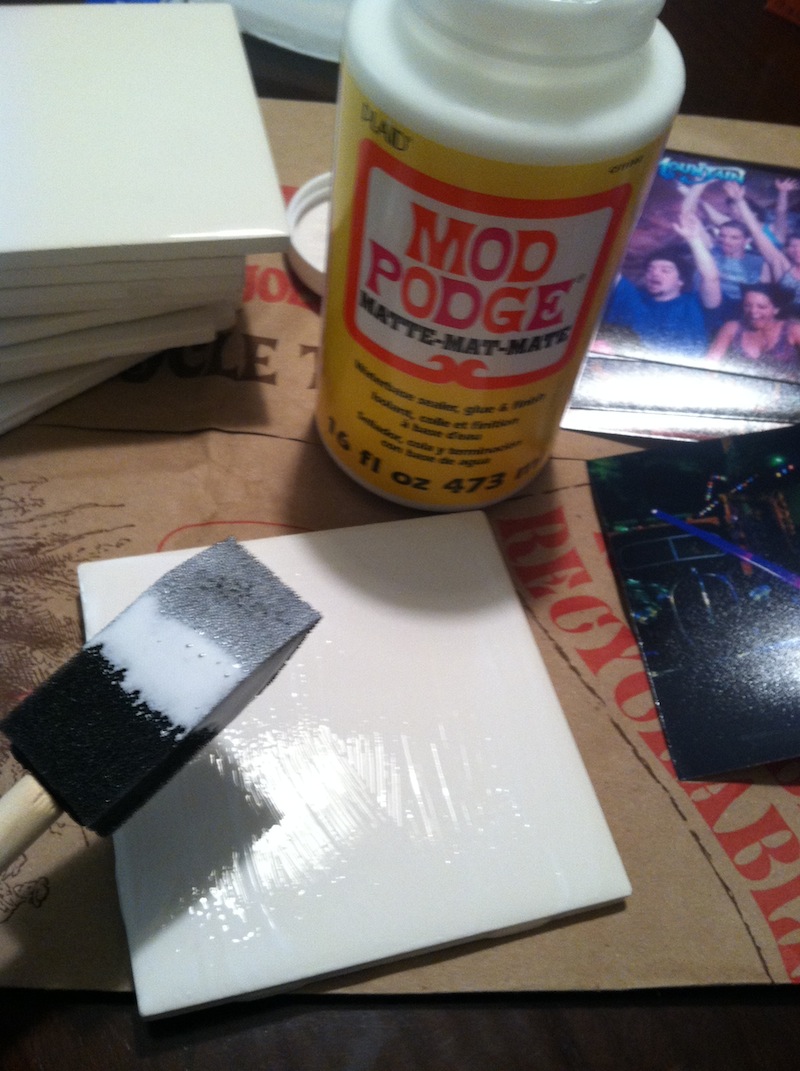
- Mod Podge – I used the matte version, but that’s personal preference.
- Foam Brushes
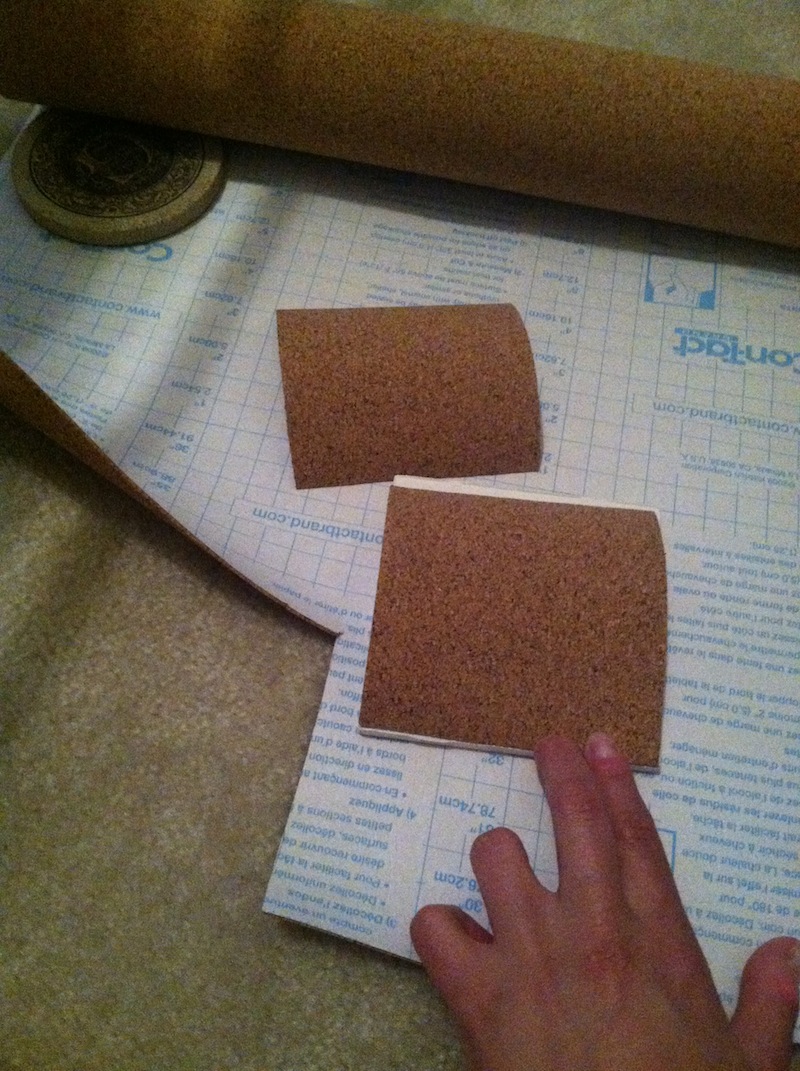
- Cork – I got mine from Amazon (link here).
- Acrylic sealant. The one in my picture is different from the one I ended up using. I ended up finding the exact same kind for $3.00 cheaper at Wal-Mart and it’s worked perfectly. I used Krylon Matte Finish|1131.
- Gorilla Glue (optional)

Instructions:
1. Apply the Mod Podge to the tile. Place the picture on the tile and let it dry in place.
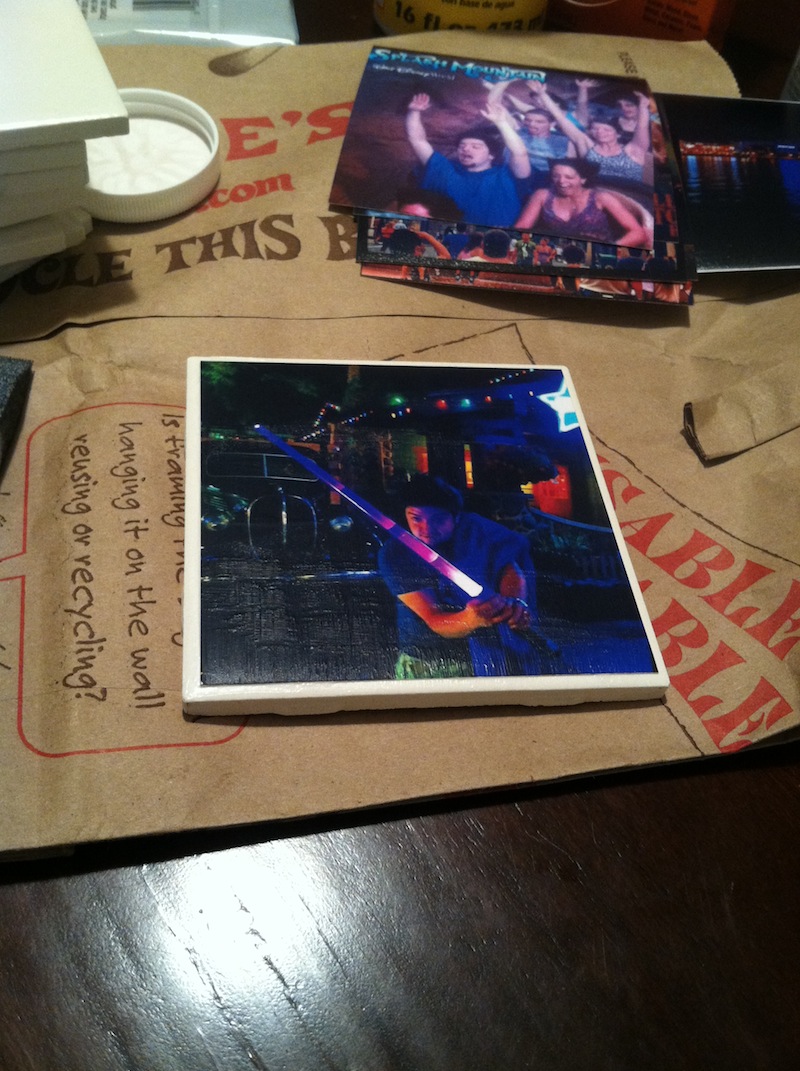
2. Cover the surface of the tile with the picture on it with the Mod Podge. Let the first coat dry for a few minutes, then repeat two more times. Let dry for several hours, if not overnight.
3. Cut out a square of cork to go on the bottom of the coaster. The cork I bought was sticky on the bottom, but since this was my first go at it, I used Gorilla Glue. If you are JUST using G.G., be warned – it spreads out as it dries. Just because you don’t see it spilling over the sides after 10 minutes, doesn’t mean it won’t leak out after an hour. Just keep an eye on it or be careful not to use too much.
4. It’s time to apply the finishing touches. Spray the acrylic finishing over the coaster in a horizontal motion. Let it dry and repeat two more times. I sprayed mine outside because of how flammable it allegedly is.
5. Let it dry for 12-24 hours and enjoy! I kept the first one I made, which was my “test” one. I’m using it right now as I type this, actually. It’s the one of Jay with the light saber, lol.


