I love windows. I love real windows (the more natural light, the better) and I love using window panes as decorations. When I was growing up, my grandma had a mirror in her stairway that was shaped like a window and ever since then, I’ve loved how it looked. Lucky for me, DIY old window frame restoration projects are all the rage on Pinterest nowadays. I’d been wanting to do a window frame-related craft for ages. Once we knew we were going to have a bigger place to decorate, I decided that making a mirror out of an old window frame was going to be my first DIY home project. I basically followed the instructions on this website.
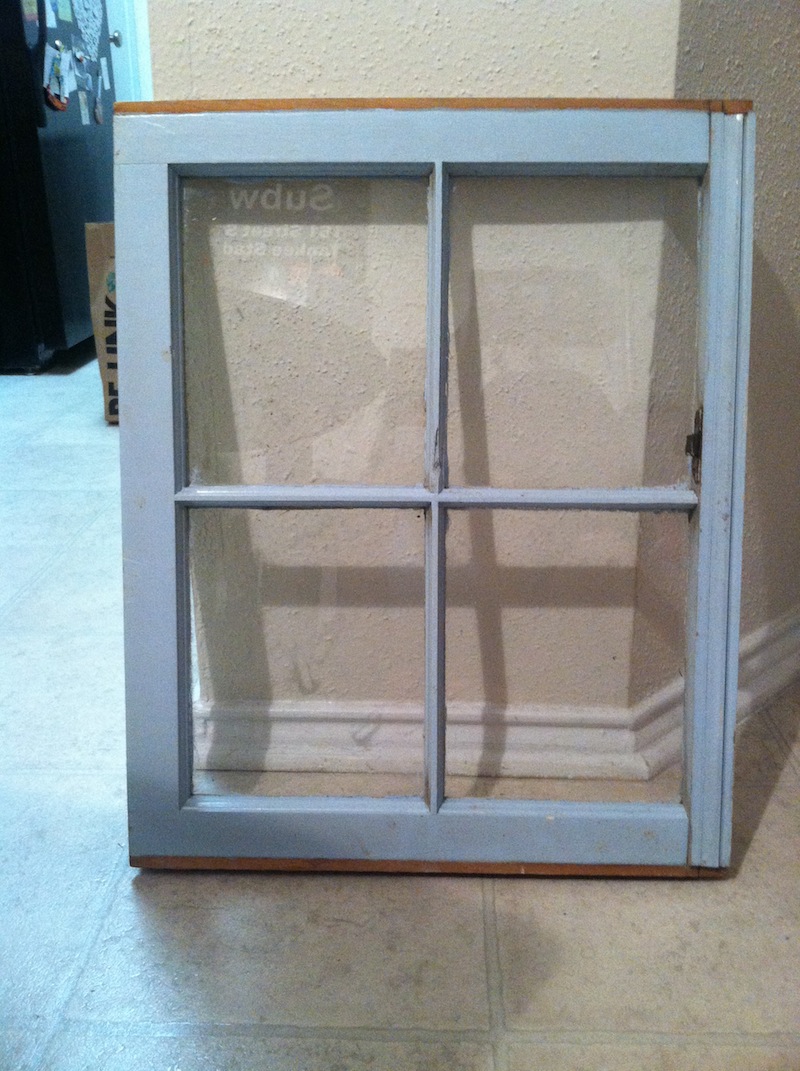
I have Jay to thank for getting this project off the ground. One Saturday morning back in September, he found me this weathered window frame at the flea market for $10. Here’s the before:
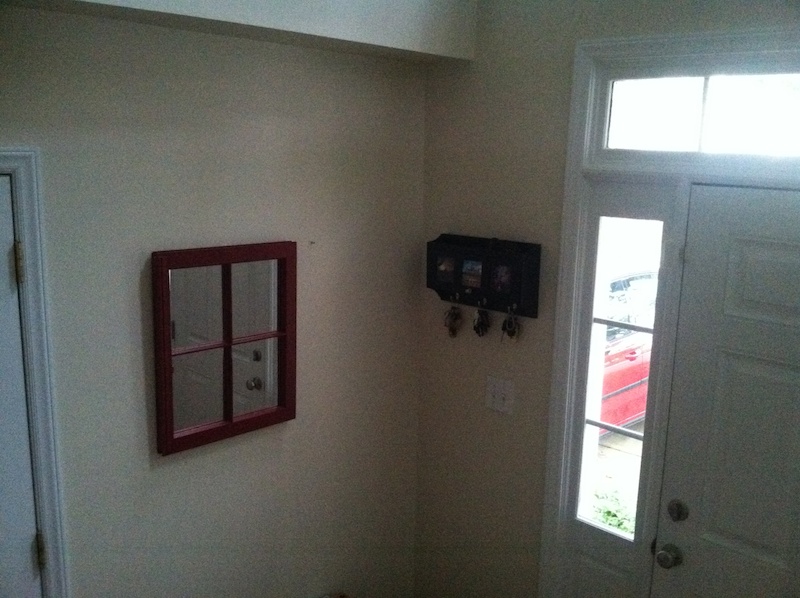
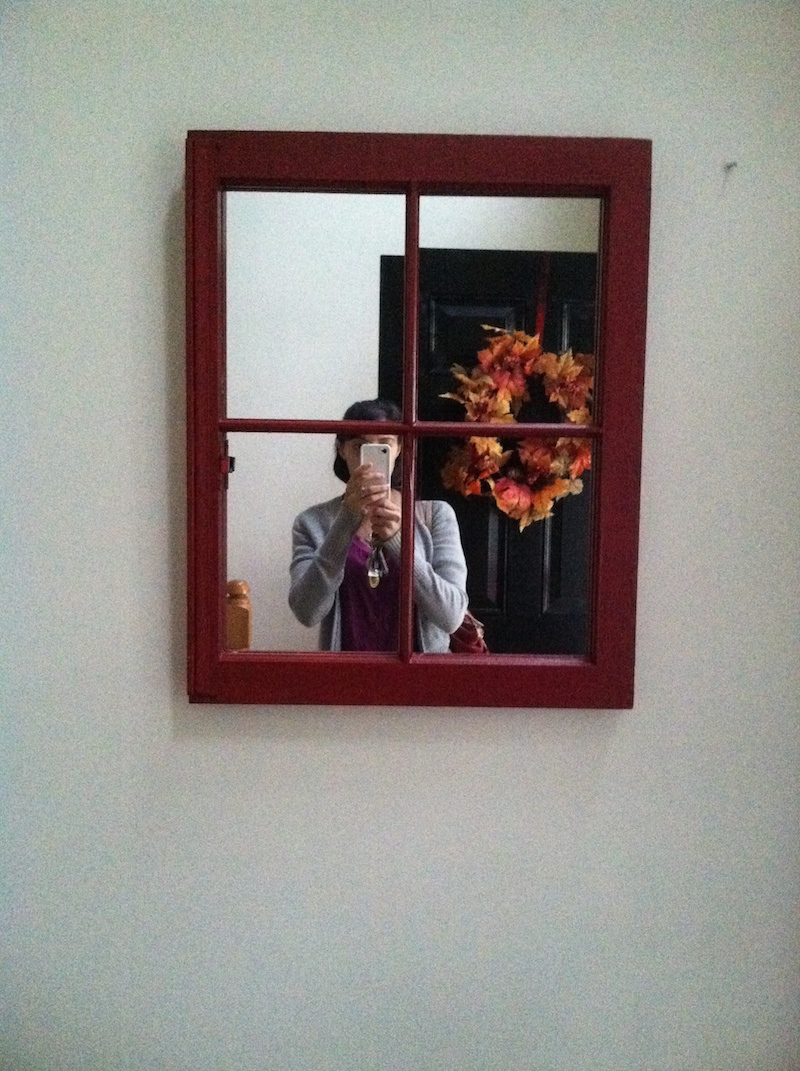
Here’s the after:
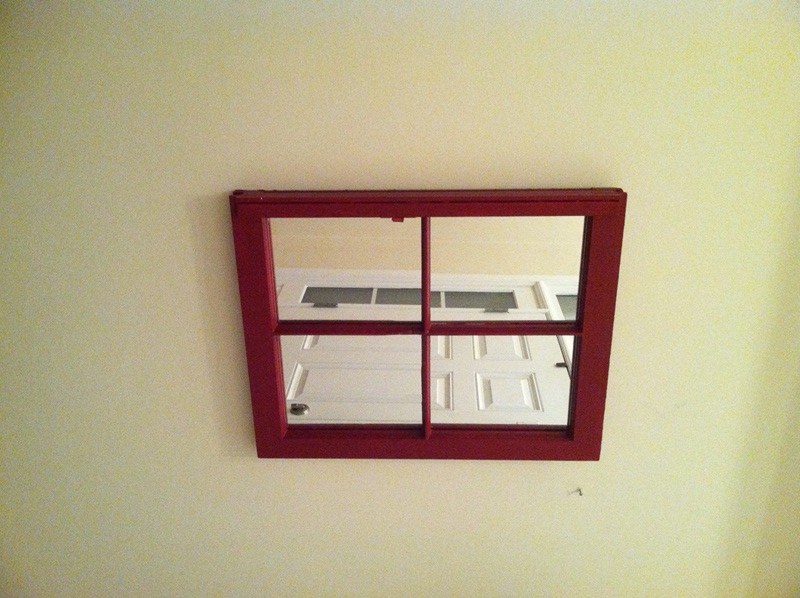
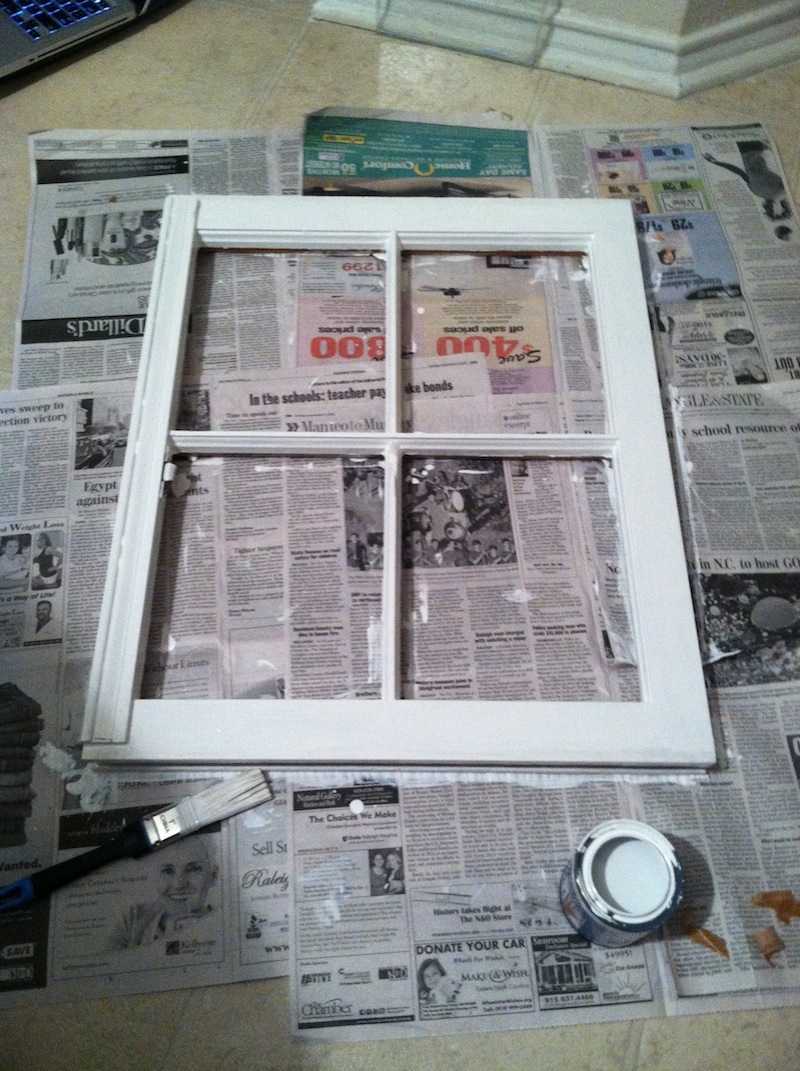
The first version of the mirror was white with a very poor attempt at using antique mod podge. Once we got into the new house, we didn’t like how it looked hung up. So, I ended up painting it red. Here’s the white version:

This project took me several days and a fair amount of trial and error to accomplish. It was not difficult to make, but the mirrors were a pain in the ass to find. I ended up having to get them custom cut because we went through 9 mirrors trying to cut them ourselves with a glass cutter that I bought at Home Depot. Luckily, they were all Dollar Store mirrors, but if I ever do this project again, I’m going to just have someone cut them for me from the start. It was $6.00 per custom cut mirror ($26 total after tax). The issue was that I thought I needed 8×10 mirrors. Unfortunately for me, the Dollar Store mirrors were actually 7.8×10.25, so I needed to try to cut the extra 1/4 of an inch off. All I ended up with from that night was a giant crater in my pinkie finger from the broken glass that bled until 3:30a.m. Later on, Jay tried to do it and was also unsuccessful. So, I went back to the Dollar Store and bought mirrors that were 14×20 or something like that so there’d be less of a chance for it to break with extra mirror to work with. Jay only successfully cut half of them. I was really frustrated after three days of mirror cutting attempts, so I decided to call a local glass place, Raleigh Glass & Mirrors about having them cut for me. At least I’d be spared the hassle and further potential scarring and get a better quality mirror.
Having Raleigh Glass & Mirrors cut them was a great decision. I showed Ben the glass panes we had removed and he discovered that the actual size was 7-and-7/8’s x 10 and cut them to fit in perfectly. If you’re trying to do this, make sure you measure the windows exactly and if you can’t find pre-made mirrors already of the exact size, save yourself the hassle and call around local glass stores to see if they’ll cut something for you. It will save a lot of headache.
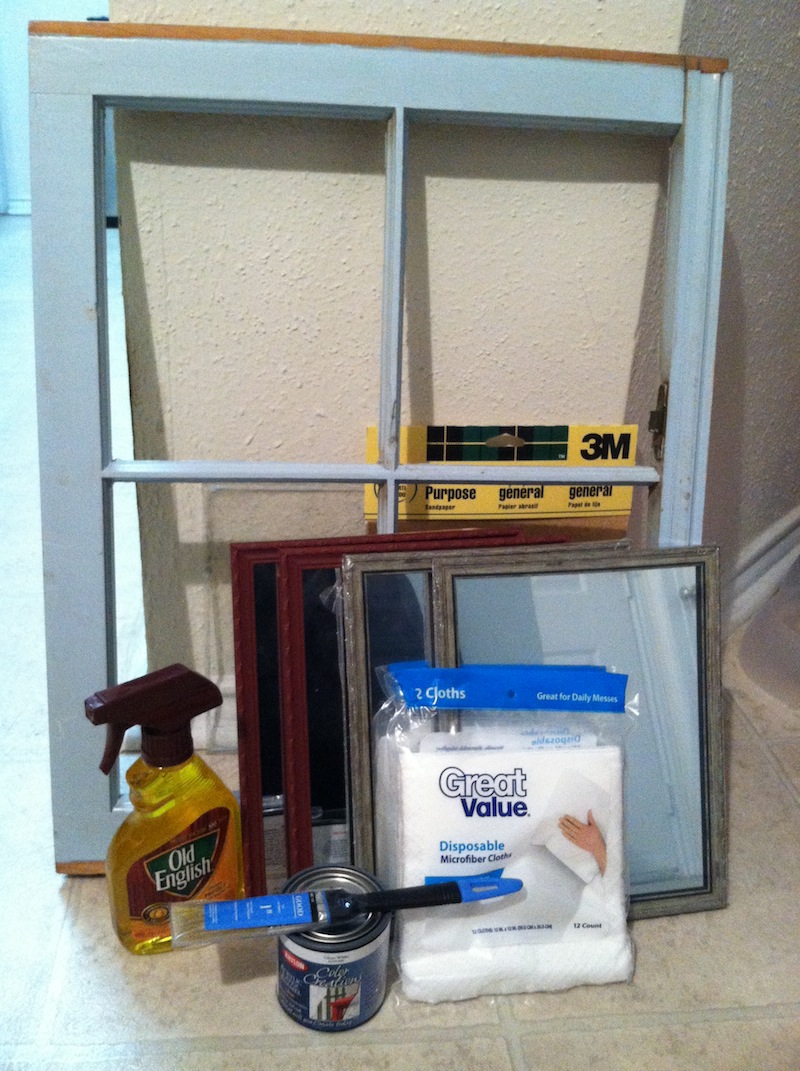 You’ll Need:
- Old window frame
- Bleach or something to clean off the frame
- Paint & paint brush (if applicable)
- Mirrors (1/8 thick)
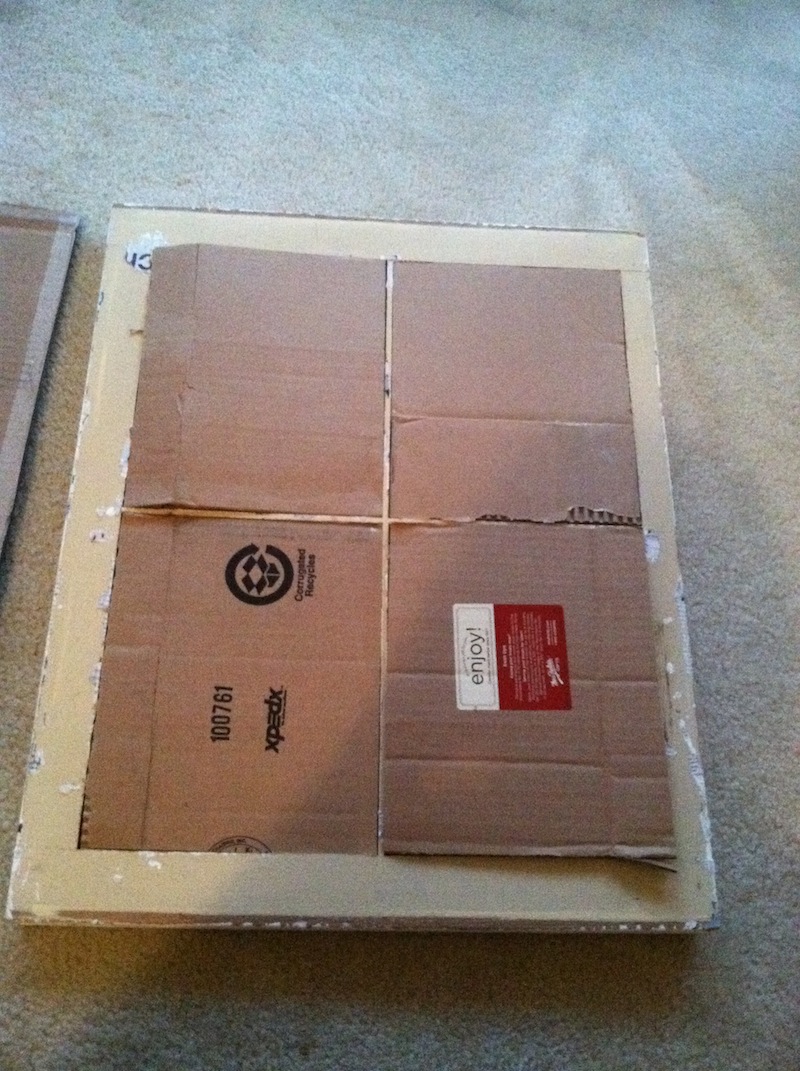
- Thick cardboard
- Keyhole fasteners
- Nails/dry wall screws
- 4-8 small nails
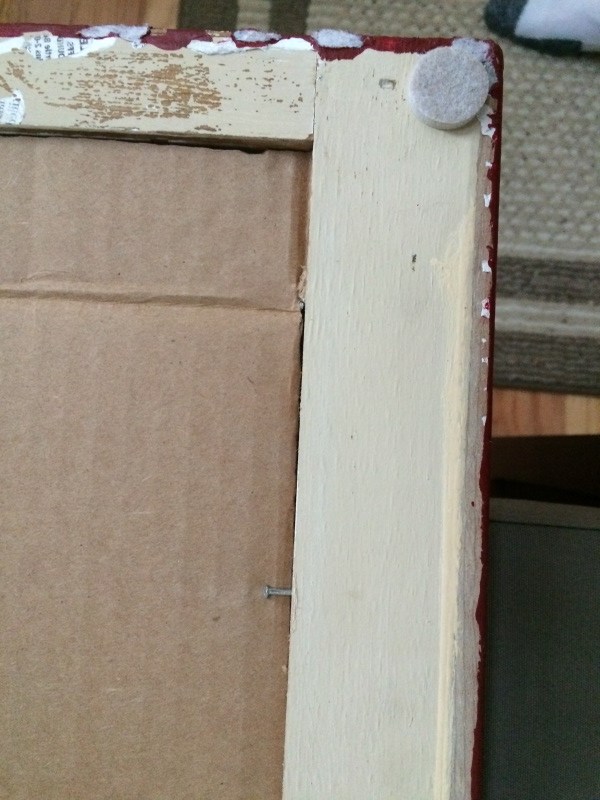
- 4 round felt pads
- Optional: duct or packaging tape
- Optional: Glass cutter
Instructions:
1. Remove the glass panes if they are still in there.
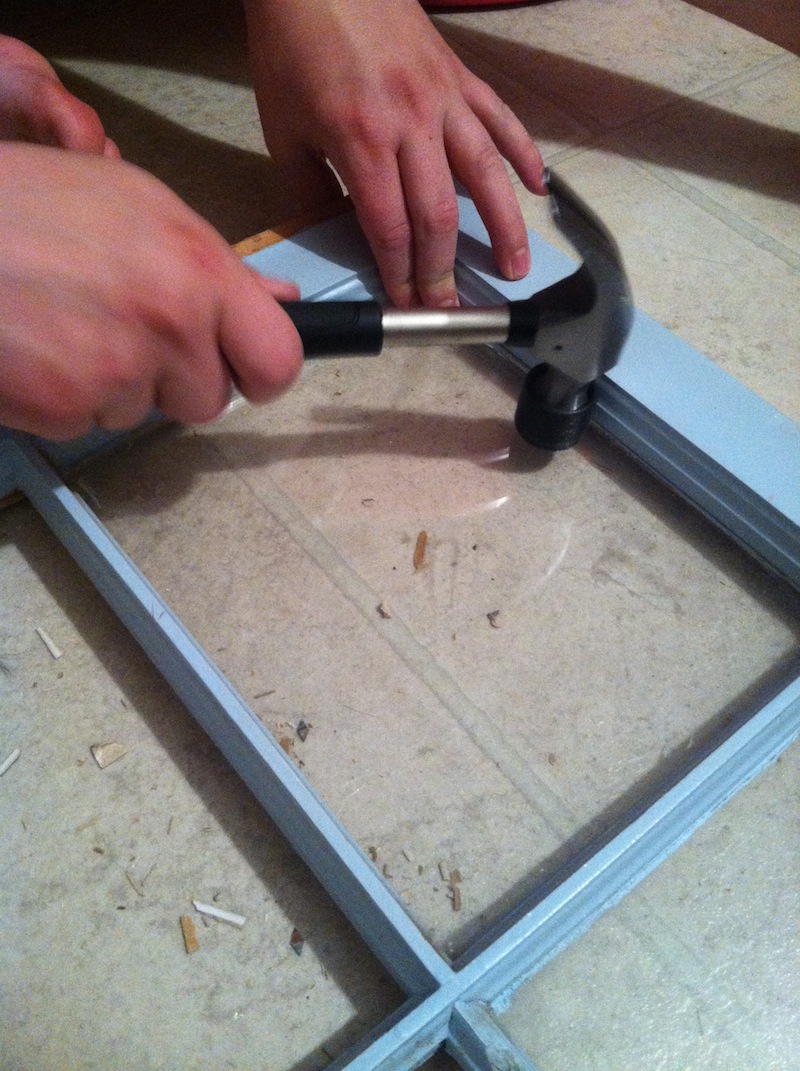
2. Clean the frame. I used bleach to get rid of any mold that could’ve been still on there, since who knows where this frame was before we found it at the flea market?
3. If you want to paint it a different color, then paint!
4. Add any finishing that you want to it.
5. Insert the mirrors carefully.
6. Cut the cardboard out to fit into the frame behind the mirrors. Place the little nails to hold the cardboard into place. You can also use duct or packaging tape, but the tape may sweat on your wall and leave a mark.
7. Put the felt or plastic tips on the four corners to keep the mirror from damaging the wall. [The pic below shows the small nail on the top of it that’s holding the mirrors in place from the step above.] Put the keyhole fasteners on to correspond where you’ll be placing the nails on the wall to hang. I only used one, but if you have a bigger window frame, you may want to use two.
8. Hang and enjoy!